Armytek Predator Pro Warm Review

Armytek Predator Pro Warm#
- Specifications
- Introduction
- Torch in use
- Build quality
- LED, bezel, lens, reflector and beam
- Size and comparison
- User interface
- Batteries and charging
- Performance
- Beamshots
- Conclusion
- Price
- Product page
Specifications#
| Brand/model | Armytek Predator Pro Warm |
|---|---|
| LED | CREE XHP35HI |
| Maximum lumens | 1,400 lm |
| Maximum beam intensity | ? cd |
| Maximum throw | 494 m |
| Battery | 1*18650 |
| Onboard charging | Yes (Magnetic USB-A) |
| Material | Aluminium |
| Modes | 4 |
| Blinkies | Strobe1, Strobe2 |
| Reflector | Smooth |
| Waterproof | IP68 |
| Review date | August 2024 |
Introduction#
The Armytek Predator Pro Warm is an 18650-sized hunting light with a forward-clicky tail switch and magnetic charging.
I have reviewed a few Armytek headlamps:
- Armytek Wizard C2 WR (my favourite red/white headlamp)
- Armytek Wizard C2 Pro Max LR Warm
Armytek provided this torch for review. I have not been paid for this review nor have I held back my opinions of this torch.
Packaging#
The torch comes in a black and green box with Armytek branding. There are specifications on the box instead of in the printed user manual.


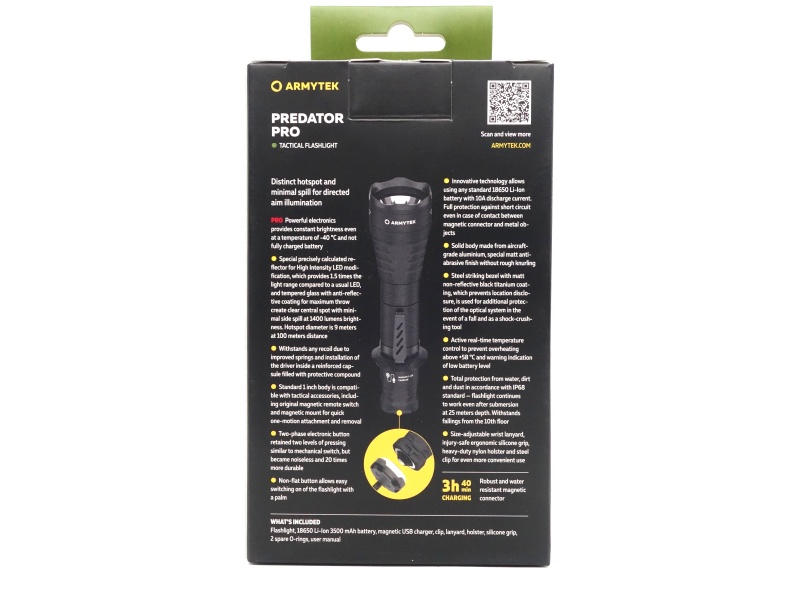

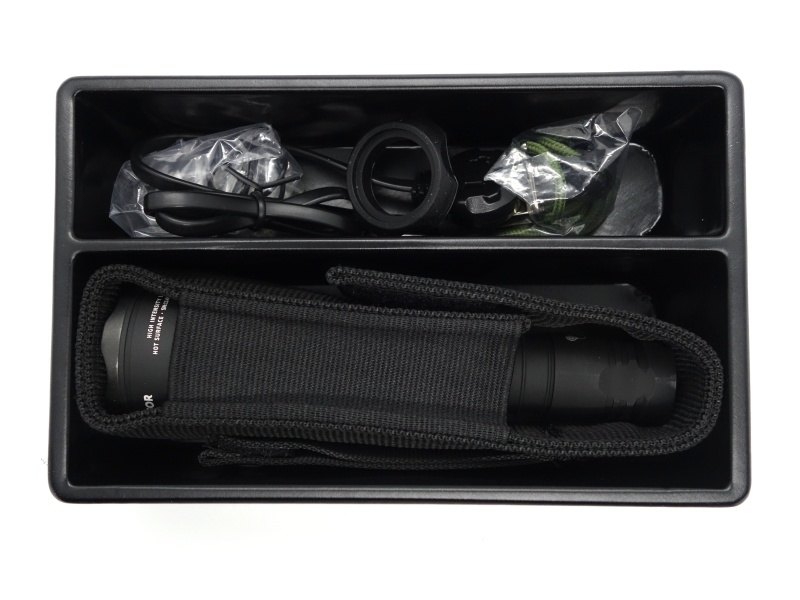
The following was included in the box:
- Armytek Predator Pro Warm.
- Holster.
- Tactical ring.
- Unprotected flat top Armytek 3.6V Li-ion 18650 3500mAh cell.
- Magnetic charging cable.
- Pocket clip.
- Lanyard.
- Two spare o-rings.
- User manual.

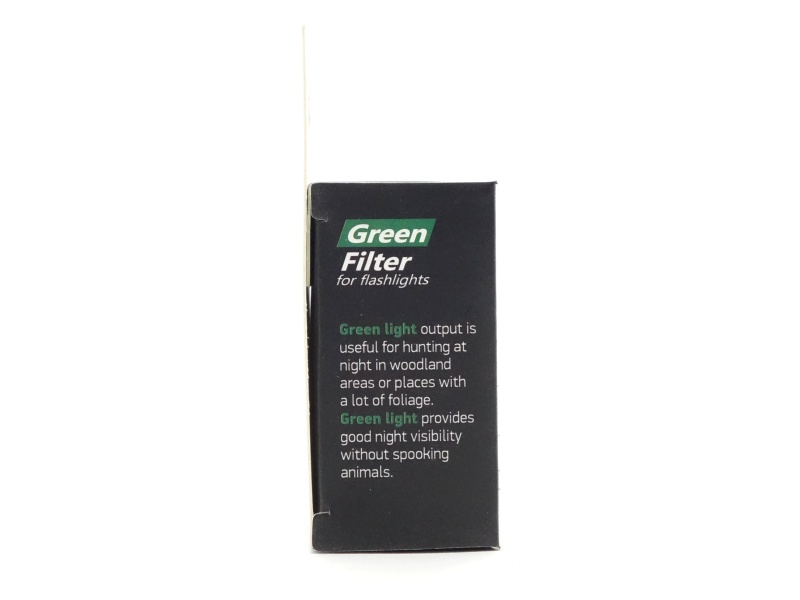
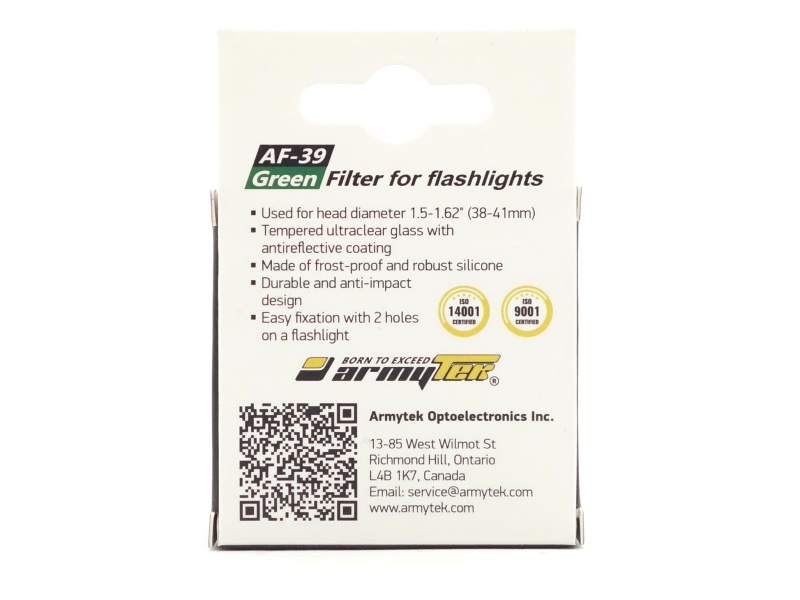
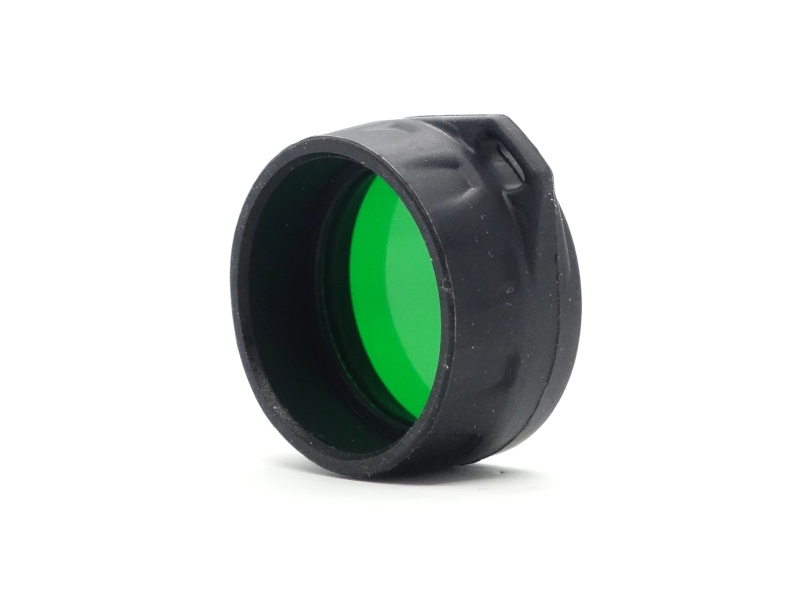
AF-39 Green Filter (optional)#


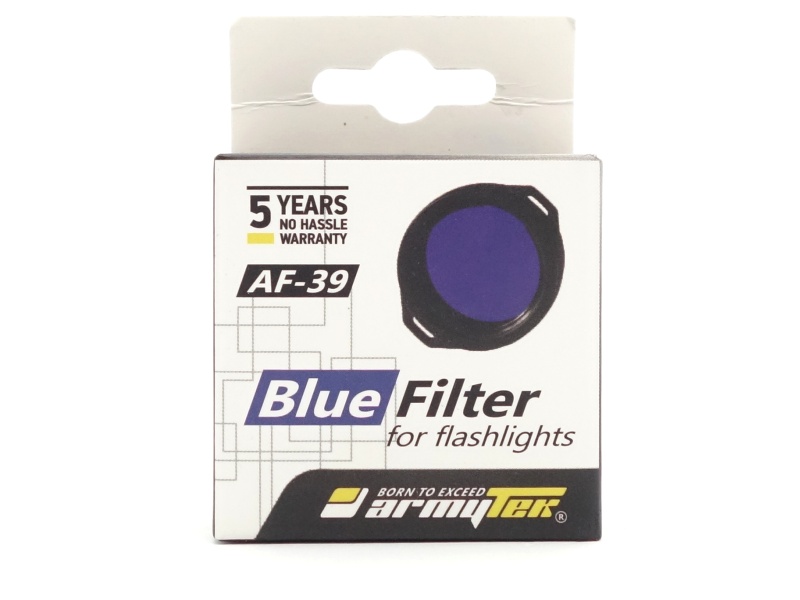
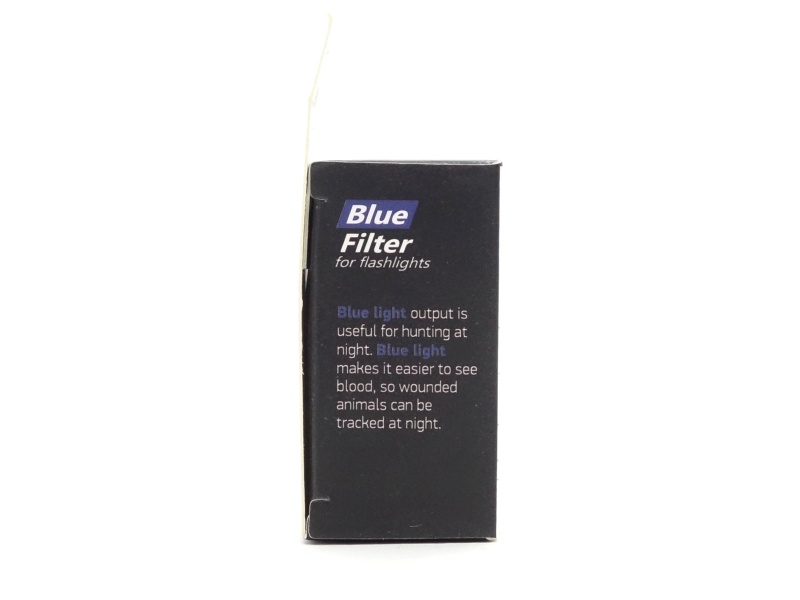
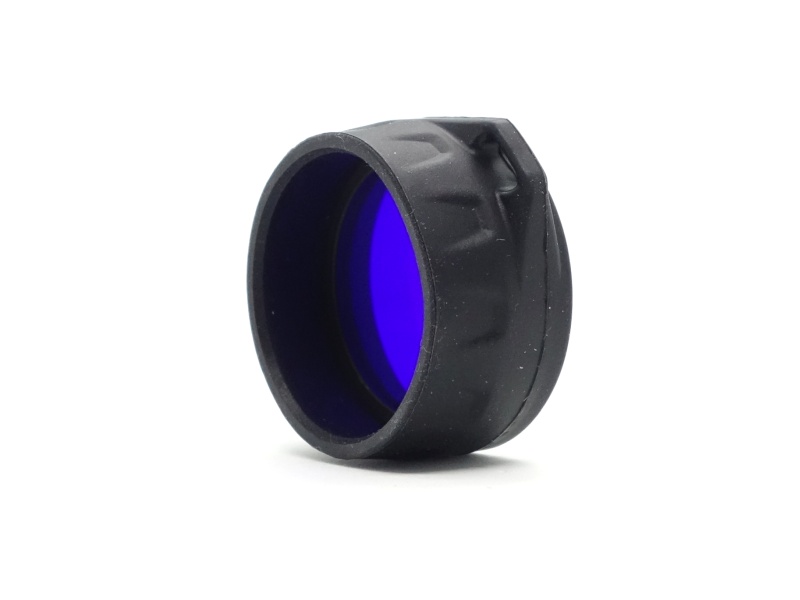
AF-39 Blue Filter (optional)#


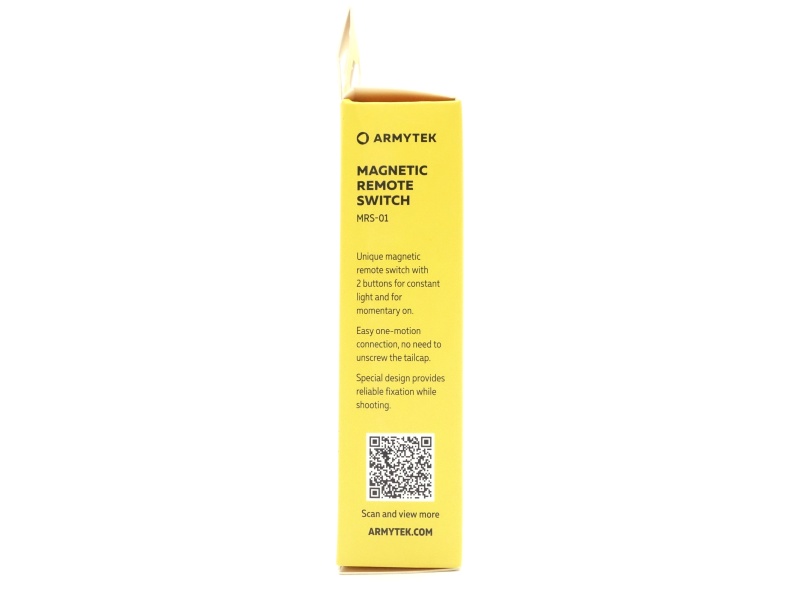
MRS-01 Magnetic Remote Switch (optional)#


Torch in use#
The Predator Pro is comfortable to hold, especially with the tactical ring.
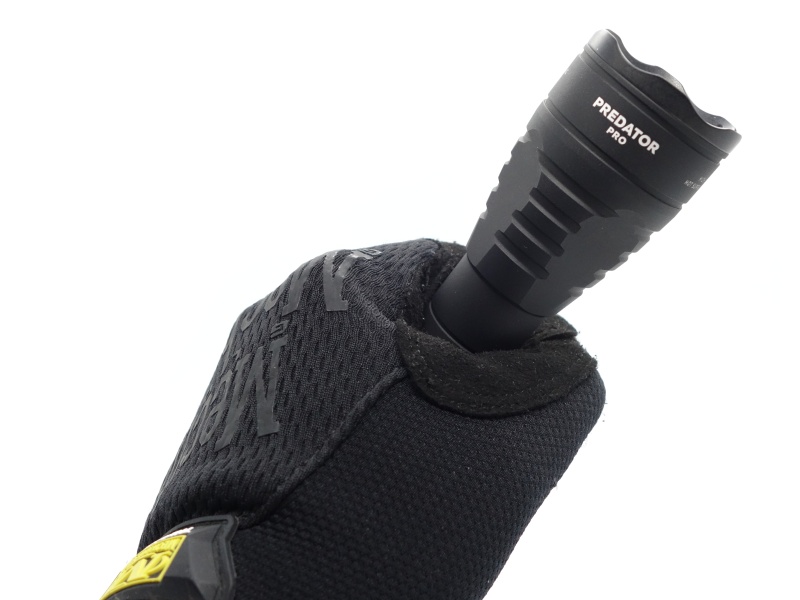

The tactical ring helps prevent the torch from rolling on a surface and it helps with gripping the torch.

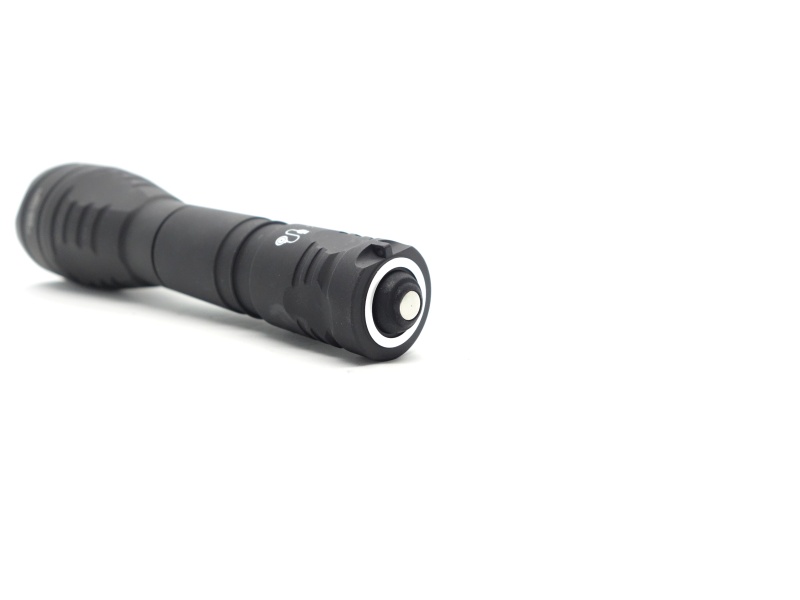
The forward-clicky tail switch takes a little bit of pressure to momentarily activate the torch. There is almost no sound when momentarily activating the light. It gives a satisfying click when fully pressed.

The protruding tail switch prevents the torch from tailstanding.
There is a hole in the tailcap for the lanyard to be attached to.


The optional remote switch mounts easily to a rifle.
A basic scope clamp (not included) can be used to attach the torch to a scope.


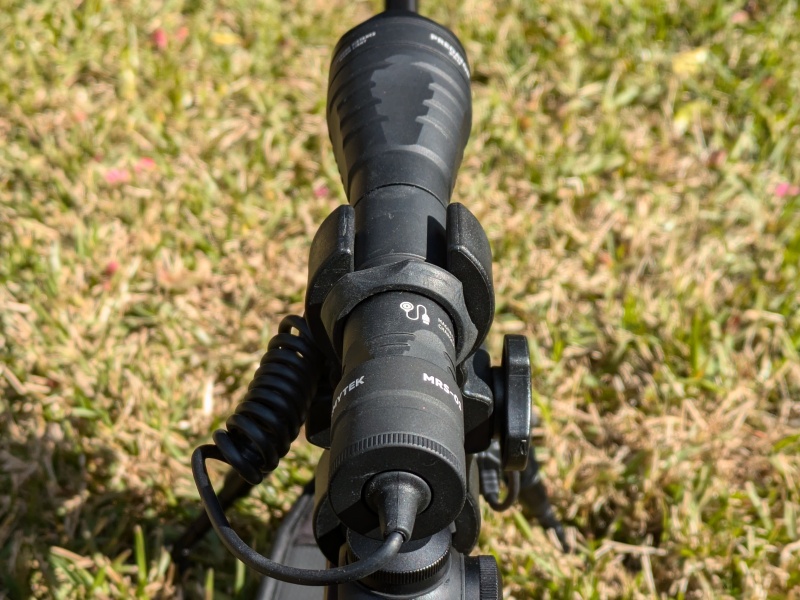
The barrel appears in the beam with this setup but the hotspot is unobstructed and the beam is practical.
Build quality#
The Armytek Predator Pro Warm is made of aluminium and it has a matte black finish.

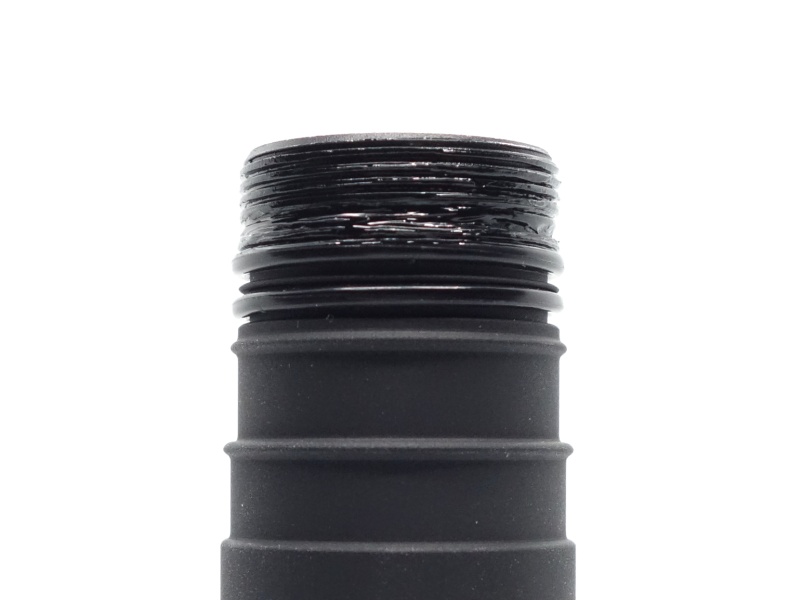
The threads are anodised and they came well lubricated.
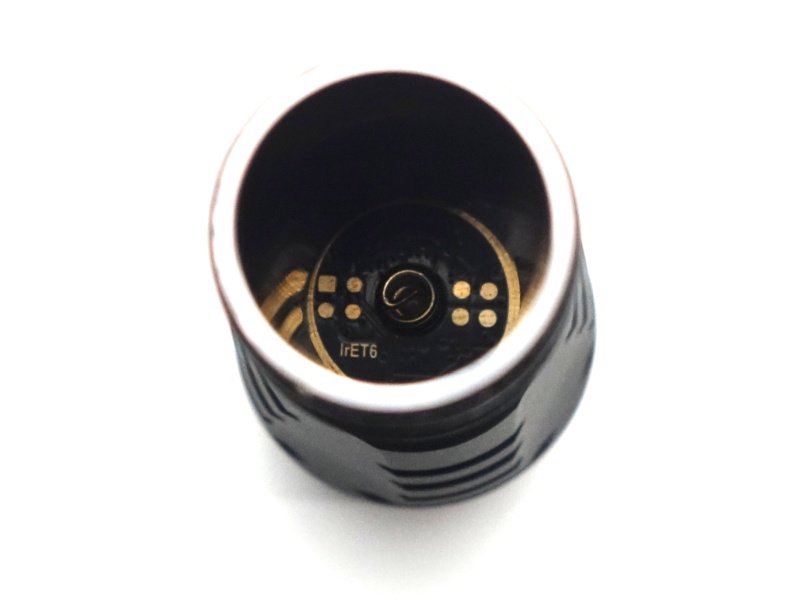
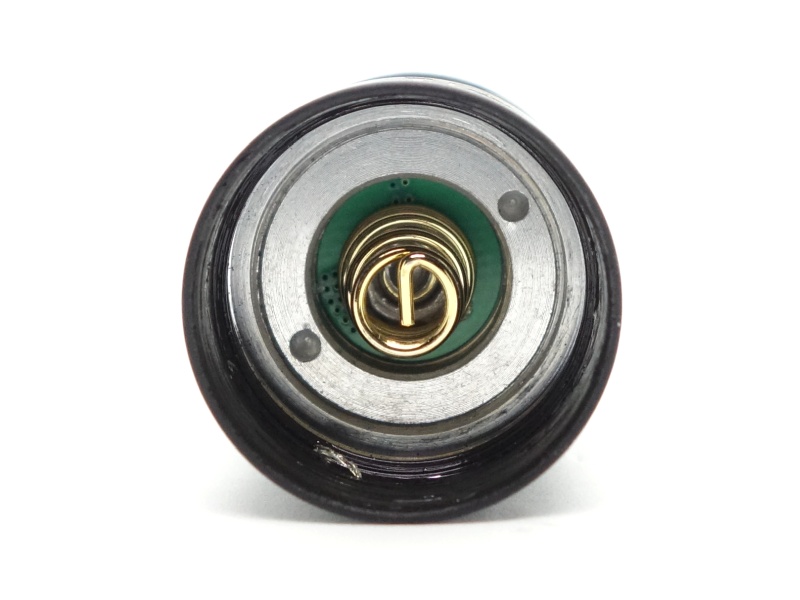
There is a single spring at the head and a single spring at the tail. Double springs might be better for hunting.
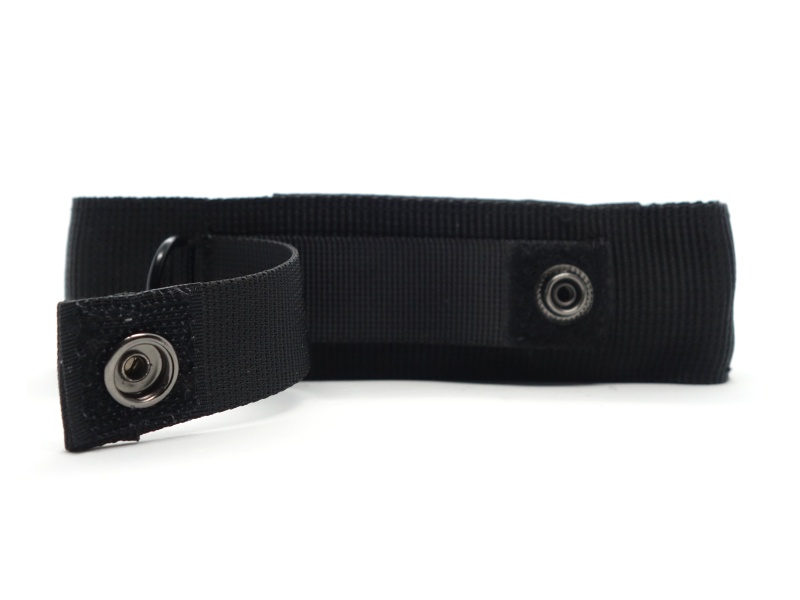
The included holster is held shut with velcro. The quality feels good.
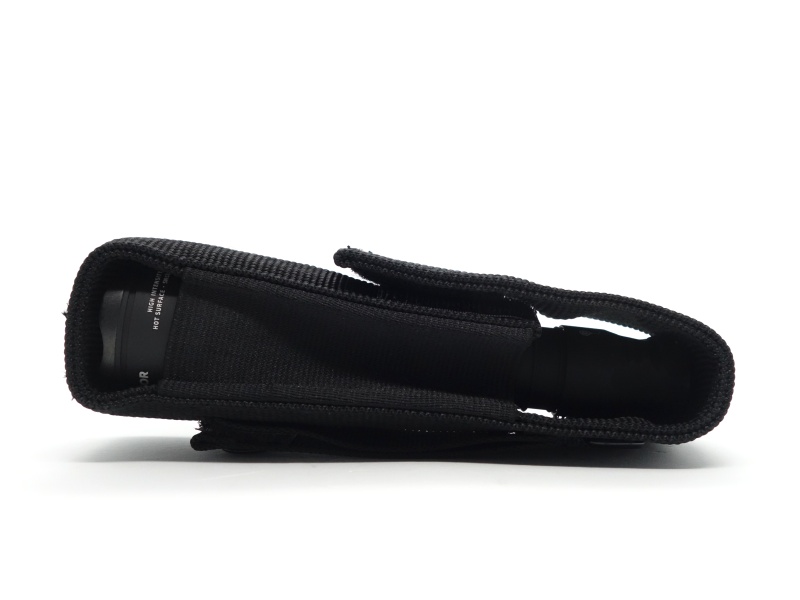
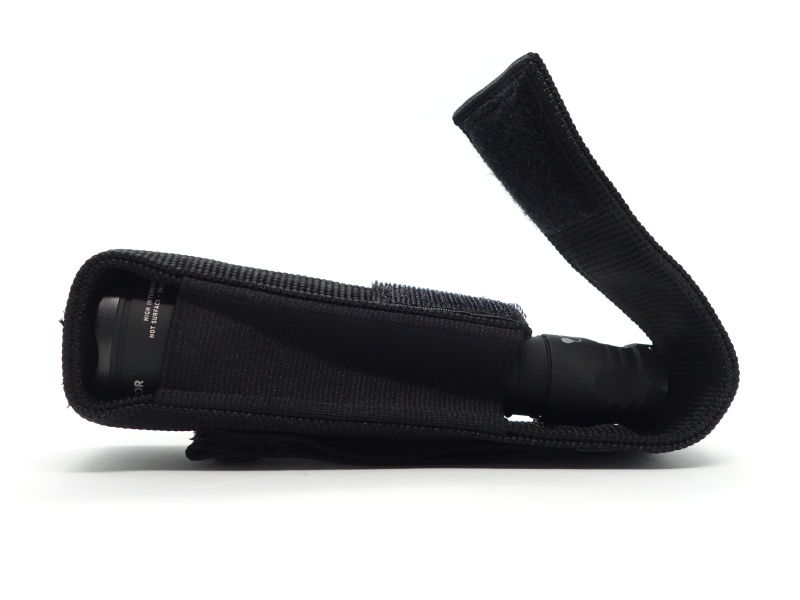
A belt can be threaded securely through a loop. There is also a small metal loop.


There is a third loop with a button. There are plenty of mounting options!
LED, bezel, lens, reflector and beam#
The torch has a warm white CREE XHP35HI emitter and a smooth reflector. It is also available with a cool white emitter.
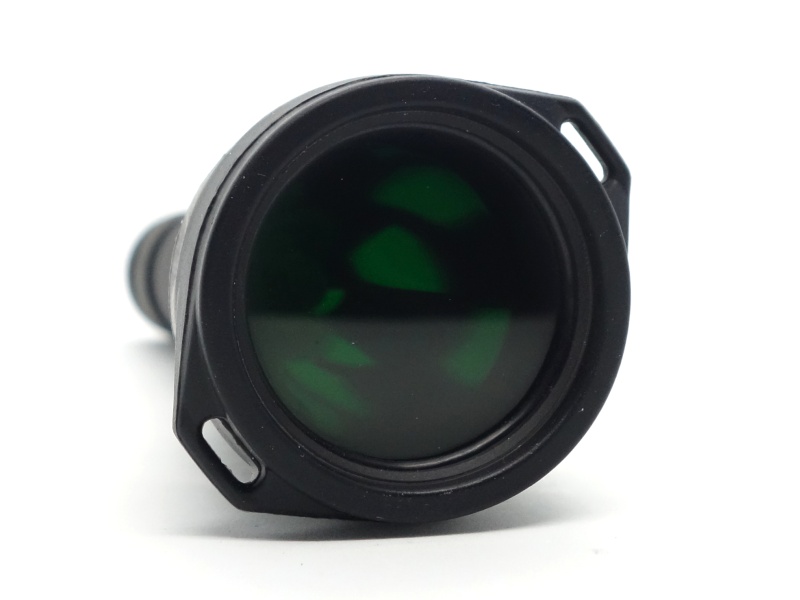
The bezel appears to have been screwed down against the glass lens with snap ring pliers. The bezel is smooth.
There is a blue anti-reflective coating on the glass lens.


Armytek kindly provided two optional filters (green and blue). The filter fits snugly over the bezel.

CCT, CRI, and duv#
I have taken Correlated Colour Temperature (CCT) and Colour Rendering Index (CRI, RA of R1-R8) measurements with the torch positioned five metres away from an Opple Light Master Pro III (G3).
The CCT is around 4000K, the CRI is around 91 and the Delta u, v is slightly positive (green) on lower modes and close to pure white on Turbo.
The beam produced has a spill with a sharp cutoff. Light is directed into one practical hot spot.
| Mode | CCT (K) | CRI (Ra) | x | y | Duv |
|---|---|---|---|---|---|
| Main1 | 3978 | 92.6 | 0.3828 | 0.3817 | 0.0022 |
| Main2 | 4009 | 92.1 | 0.3814 | 0.3805 | 0.0015 |
| Main3 | 4056 | 91.1 | 0.3795 | 0.3799 | 0.0017 |
| Turbo | 4201 | 89.6 | 0.3719 | 0.3699 | -0.0006 |
Calculate Duv from CIE 1931 xy coordinates
Dimensions and size comparison#
Dimensions#
I took the following measurements using a digital caliper.
| Measurement | Unit (mm) |
|---|---|
| Length | 159.8 |
| Head diameter | 41.1 |
| Tube diameter | 25.4 |
| Tail diameter | 25.4 |
| Battery diameter | 18.5 |
| Battery length | 65.3 |
Weight#
I took the following measurements using a digital scale.
| Weight | Unit (g) |
|---|---|
| Torch | 135.38 |
| Battery | 47.37 |
| Torch with battery | 182.75 |
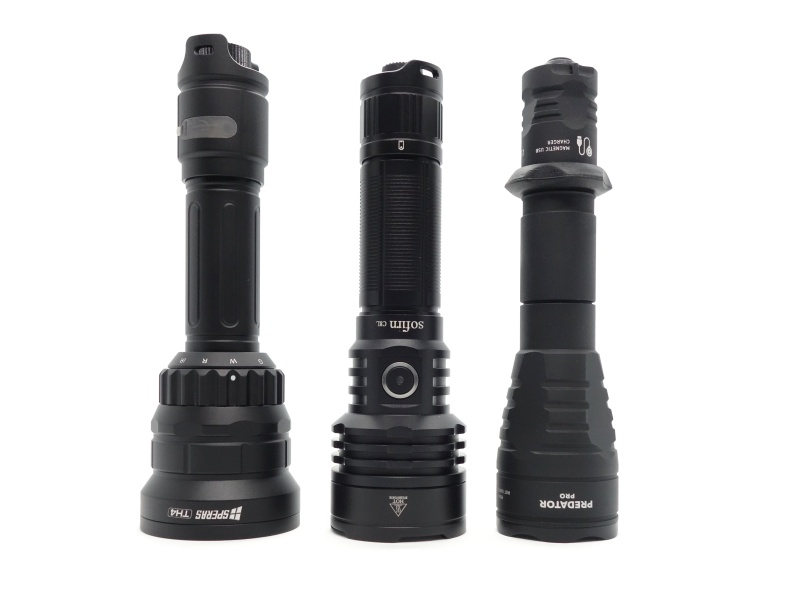
Size comparison with its competition#
From left to right: SPERAS TH4, Sofirn C8L, Armytek Predator Pro Warm
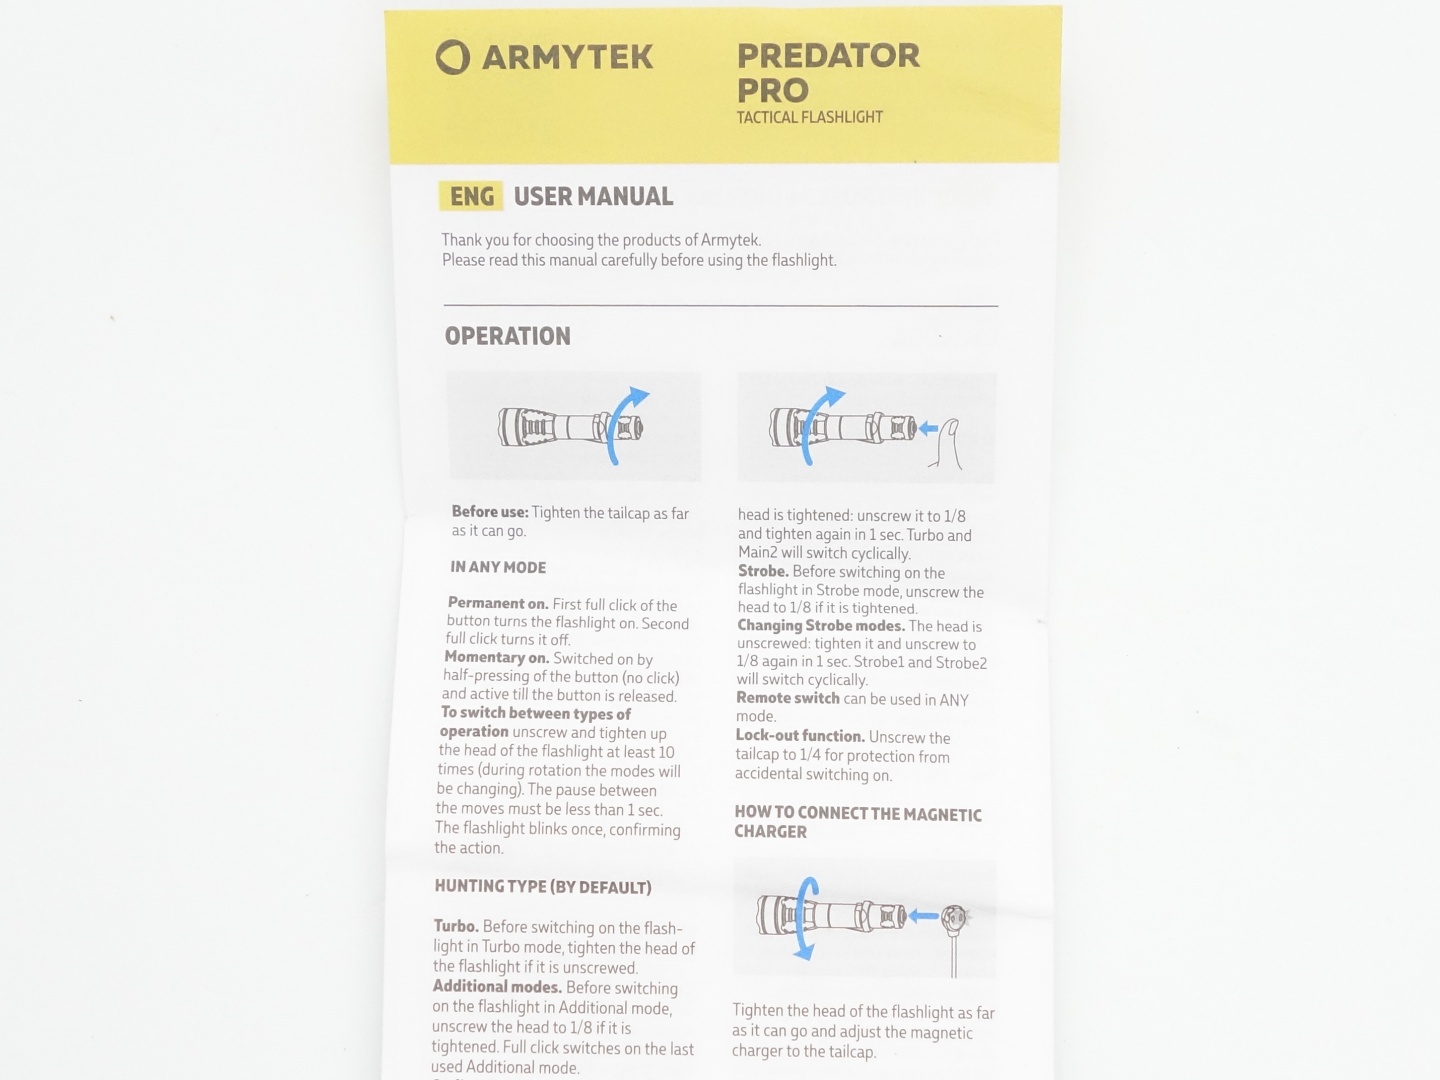
User interface#
The Armytek Predator Pro Warm is controlled with a forward-clicky tail switch and by twisting the head.
The torch is set to a Hunting UI by default.
To change between the Hunting UI and the Tactical UI:
- Click the tail switch to turn the torch on.
- Unscrew the head by 1/8 of a rotation and then tighten it within a second. Perform this step 10 times.
- The light will flash once to confirm that the UI has changed.
Hunting UI#
Two modes are accessible: Turbo and an Additional Mode.
Click the tail switch for Turbo.
Half press the tail switch for momentary Turbo.
Unscrew the head by 1/8 of a rotation and then click the tail switch for Additional Mode.
Unscrew the head by 1/8 of a rotation and then half press the tail switch for momentary Additional Mode.
Additional Mode can be set to: Main1, Main2, Main3 or Strobe2 (if enabled).
Strobe2 can be enabled or disabled by half pressing the tail switch 20 times when the torch is off and then fully clicking on the 20th press. The light will flash to confirm.
| Head | State | Action | Result |
|---|---|---|---|
| Off | Click | On (Turbo) | |
| Off | Half press | Momentary Turbo | |
| 1/8 unscrewed | Off | Click | Additional Mode (mode memory) |
| 1/8 unscrewed | Off | Half press | Momentary Additional Mode (mode memory) |
| 1/8 unscrewed | On | Click or half press within 1 second | Cycle Additional Mode (Main1, Main2, Main3, Strobe2) |
| Any | Off | Half press within 1 second 20 times | Toggle Strobe2 On/Off |
Tactical UI#
Two modes are accessible: Constant Light and Strobe.
Click the tail switch for Constant Light.
Half press the tail switch for momentary Constant Light.
Constant Light can be set to Turbo or Main2 by unscrewing the head by 1/8 of a rotation and then by tightening the head while the torch is on.
Unscrew the head by 1/8 of a rotation and then click the tail switch for Strobe.
Unscrew the head by 1/8 of a rotation and then half press the tail switch for momentary Strobe.
Strobe can be set to Strobe2 or Strobe1 by tightening the head and then by unscrewing the head by 1/8 of a rotation while the torch is on.
| Head | State | Action | Result |
|---|---|---|---|
| Off | Click | Constant Light | |
| Off | Half press | Momentary Constant Light | |
| Off | Unscrew 1/8 and tighten the head within 1 second | Cycle Constant Light (Turbo, Main2) | |
| 1/8 unscrewed | Off | Click | Strobe |
| 1/8 unscrewed | Off | Half press | Momentary Strobe |
| 1/8 unscrewed | Off | Tighten and unscrew 1/8 the head within 1 second | Cycle Strobe (Strobe1, Strobe2) |
Magnetic Remote Switch#
A remote switch can only access Turbo mode when using the Hunting UI.
A remote switch can access any mode when using the Tactical UI.
Strobe#
There are two strobe modes:
- Strobe1 (112 lm at 15 Hz for 23h)
- Strobe2 (1400 lm at 15 Hz for 3min then 650 lm for the remaining 3h)
Strobe1 and Strobe2

Mode memory#
There is mode memory when you unscrew the head by 1/8. The last used mode will be recalled when the tail switch is clicked. If you click within 1 second then the torch may cycle to the next mode.
Low voltage protection#
There appears to be low voltage protection built into the torch but there is a parasitic drain of 45mA after the light turns off.
I tested low voltage protection by connecting the head of the torch to a bench power supply and then by lowering the voltage from 4.2V to 0V.
| Mode | LVP? | Cut-off voltage | Current |
|---|---|---|---|
| Main1 | Yes | 2.74V | 45mA |
| Main2 | Yes | 2.72V | 45mA |
| Main3 | Yes | 2.61V | 44mA |
| Turbo | ? | ? | ? |
I checked each mode except Turbo . My bench power supply is limited to 5A but Turbo requires at least 6.5A.
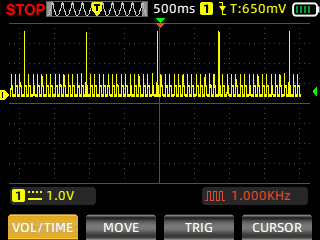
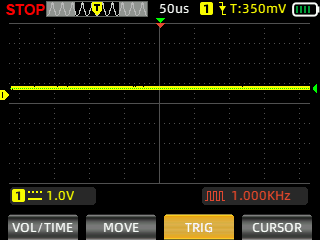
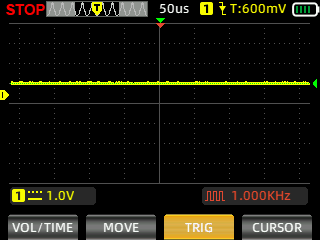
Pulse Width Modulation#
There is PWM but I did not notice any visible PWM (flickering).
I can hear slow PWM when I put the tail of the torch 5cm away from my ear while using Turbo or Strobe.
I measured the PWM of the light with a Zoyi ZT-703S oscilloscope.
Main1, Main2, Main3 and Turbo


What I like about the UI#
- I like how an optional remote switch can access each mode just like the tail switch when used in combination with unscrewing the head by 1/8.
- Direct access to Turbo when using the Hunting UI.
What could be improved#
- The user interface is a bit complicated to learn at first. It is simple to use but I find myself referring to the manual to figure out how to switch between Hunting UI and Tactical UI.
- A rotary switch to change between Turbo, Main3, Main2, Main1, Strobe2 and Strobe1 might make the torch easier to use.
Batteries and charging#
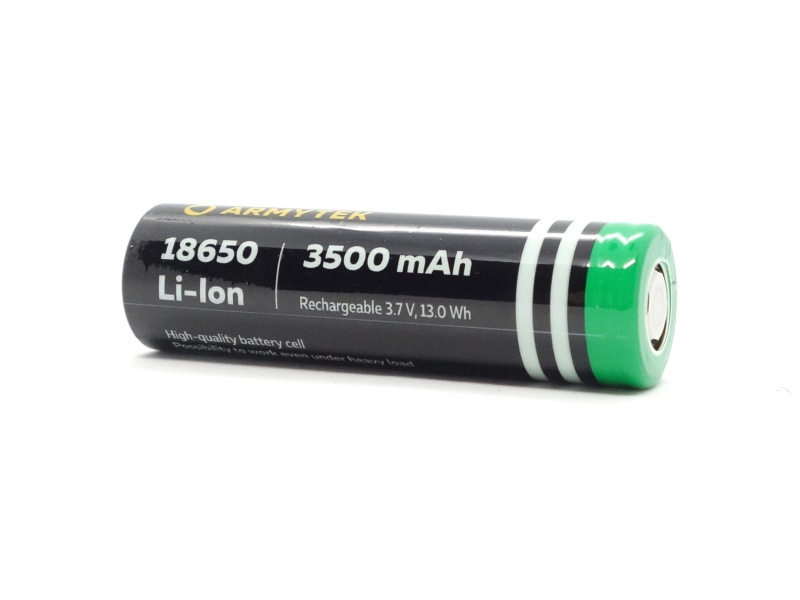
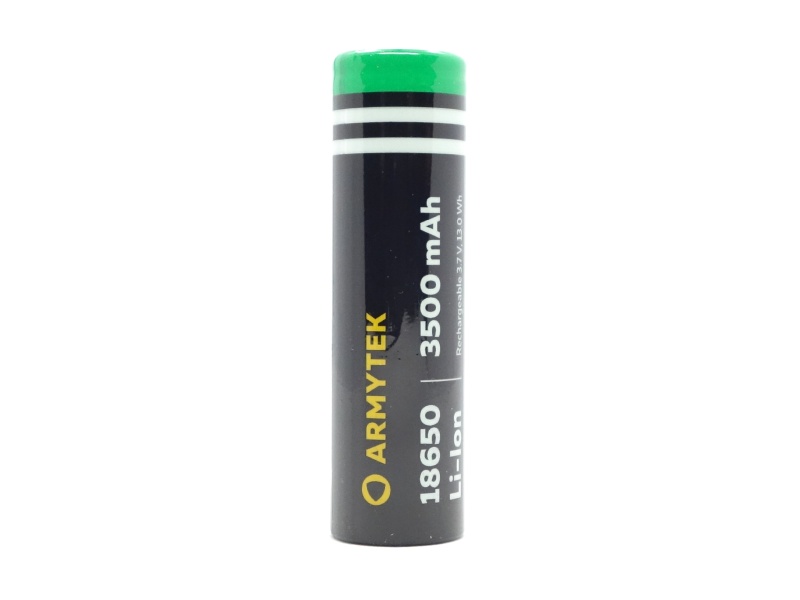
Battery#
An unprotected flat top Armytek 3.6V Li-ion 18650 3500mAh cell was included inside the torch. It arrived with a voltage of 3.57V.
Armytek recommends using a 18650 Li-ion cell capable of a 10A discharge current.
The wrap appears to be flipped in the opposite direction compared to how other brands wrap batteries. I accidentally inserted the flat top cell backwards one time because of this.
I tried the following cells:
| Cell | Top | Compatible? | Comment |
|---|---|---|---|
| Armytek 3.6V Li-ion 18650 3500mAh | Flat | Yes | |
| Acebeam ARC18650H-260A 15A 3.6V Li-ion 2600mAh | Button | No | Too long. The torch turns on when the tailcap is screwed on fully. |
| Acebeam ARC18650H-310A 3.6V Li-ion 3100mAh USB-C | Button | No | Too long. The torch turns on when the tailcap is screwed on fully. |
| Sanyo NCR18650GA 3.7V Li-ion 3450mAh | Flat | Yes | |
| XTAR 18650 3.6V Li-ion 4000mAh | Button | Yes |
Charging#
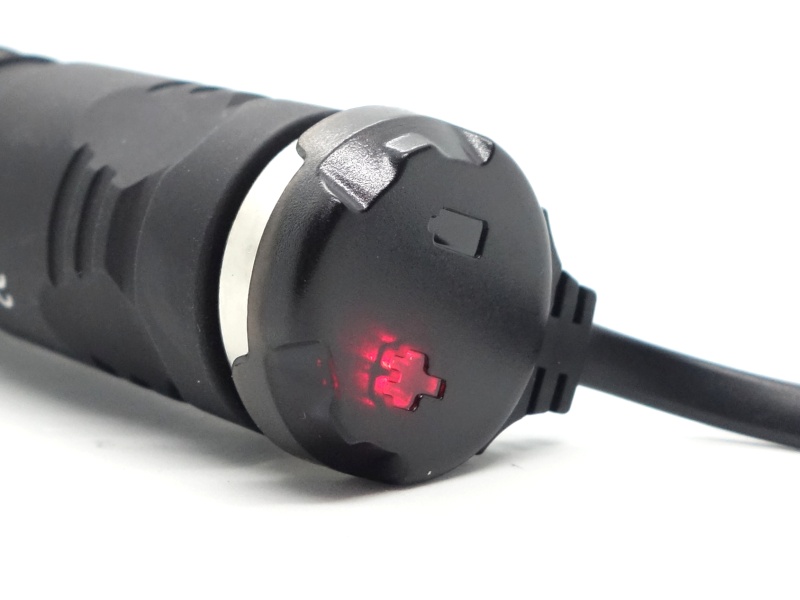
A magnetic charging cable can be attached to the tailcap to begin charging.

Power supply: PinePower Desktop USB-C
USB Meter: AVHzY CT-3
Room temperature: 13 C

I charged the included battery from 3.57V to 4.16V using the magnetic charging cable.
It took about 2 hours 20 minutes to fully charge at a rate of 5V 1A.
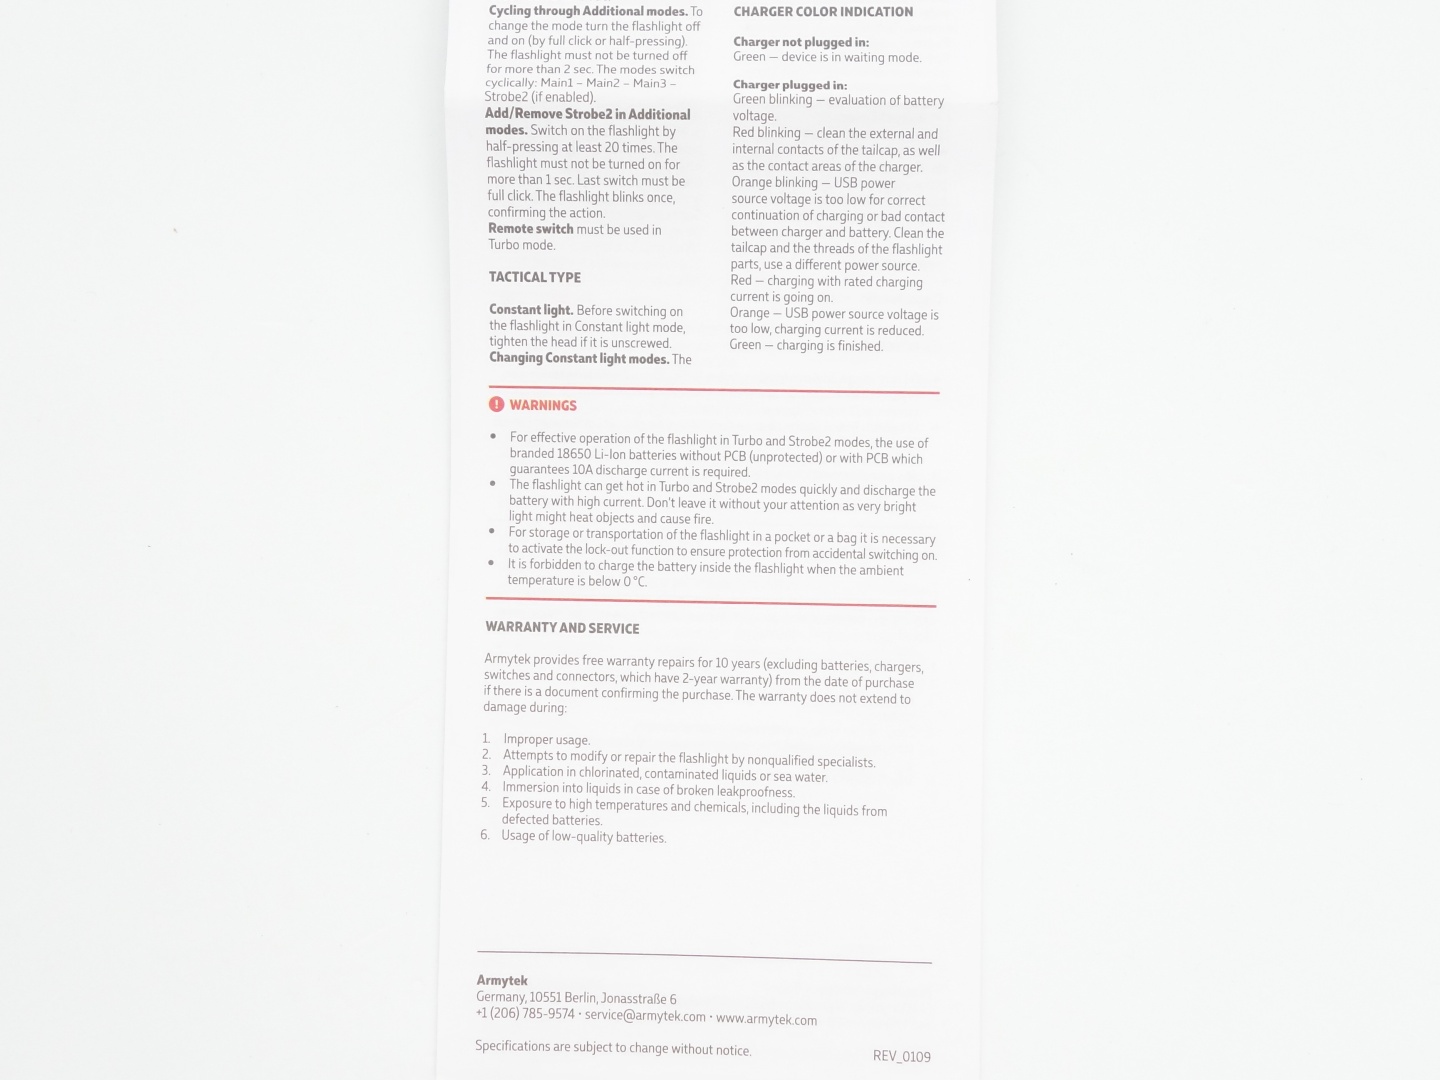
Charging status indicator#
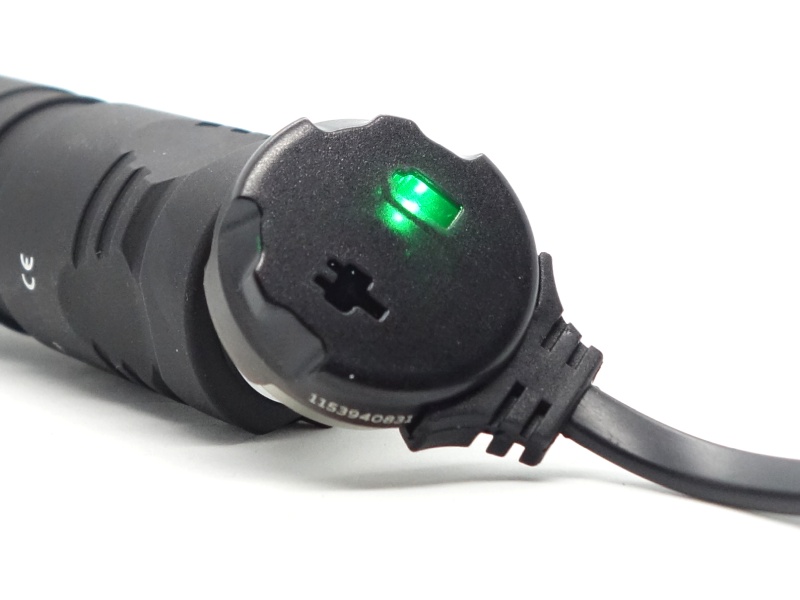
The charging indicator in the magnetic charger went red while charging and it went green when charging was complete.
Charger not plugged in:
| Colour | Status |
|---|---|
| Green | Device is in waiting mode. |
Charger plugged in:
| Colour | Status |
|---|---|
| Green blinking | Evaluation of battery voltage. |
| Red blinking | Clean the external and internal contacts of the tailcap, as well as the contact areas of the charger. |
| Orange blinking | USB power source voltage is too low for correct continuation of charging or bad contact between charger and battery. Clean the tailcap and the threads of the flashlight parts, use a different power source. |
| Red | Charging with rated charging current is going on. |
| Orange | USB power source voltage is too low, charging current is reduced. |
| Green | Charging is finished. |
Performance#
Specifications from the box:
| ANSI/PLATO FL1 2019 | Turbo | Main3 | Main2 | Main1 | Strobe2 | Strobe1 |
|---|---|---|---|---|---|---|
| Output (lumens) | 1,400 | 280 | 112 | 37 | 1,400 | 112 |
| Runtime | 1h 33min | 5h 13min | 12h 20min | 32h | 3h | 23h |
| Beam Distance (metres) | 494 | |||||
| Beam Intensity (cd) |
Turbo drops to 650 lumens after 3 minutes.
Strobe2 drops to 650 lumens after 3 minutes.
Lumen measurements#
I measured the current at turn on for: Main1, Main2 and Main 3 with a bench power supply; Turbo with a UNI-T UT210E clamp meter.
| Mode | Amps at start | Specs | Lumens @turn on | Lumens @30 sec | Lumens @10 min |
|---|---|---|---|---|---|
| Main1 | 0.15 A | 37 | 82 | 80 | 80 |
| Main2 | 0.29 A | 112 | 152 | 149 | 147 |
| Main3 | 0.69 A | 280 | 324 | 320 | 313 |
| Turbo | 6.50 A | 1,400 | 1,429 | 1,348 | 622 |
Standby drain#
I measured a standby current of 11.2 µA with a UNI-T UT139C digital multimeter.
Runtime graphs#
I used my own DIY lumen tube with a TSL2591 sensor and forked bmengineer’s project RuTiTe to record runtimes.
Note: Lumen measurements may be off by 10% with my DIY lumen tube.
The room temperature was approximately 10 C.

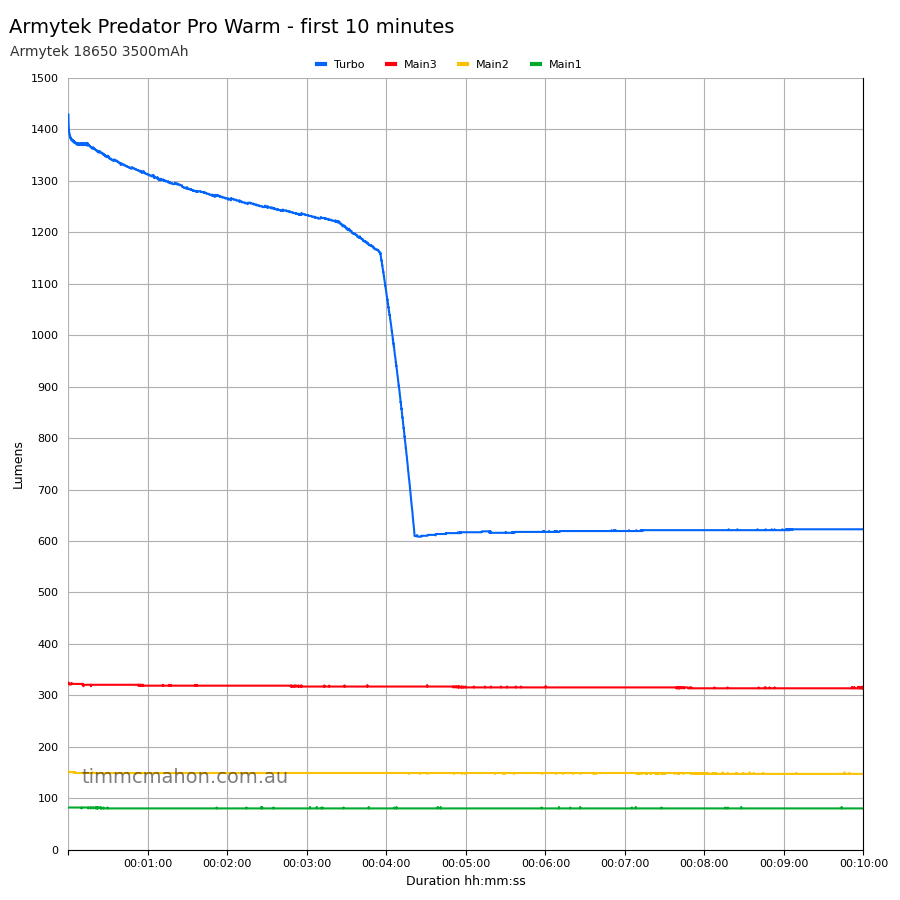
Runtime#
Here is a summary of the runtime results:
| Mode | User manual | Runtime | Turn off | Final voltage |
|---|---|---|---|---|
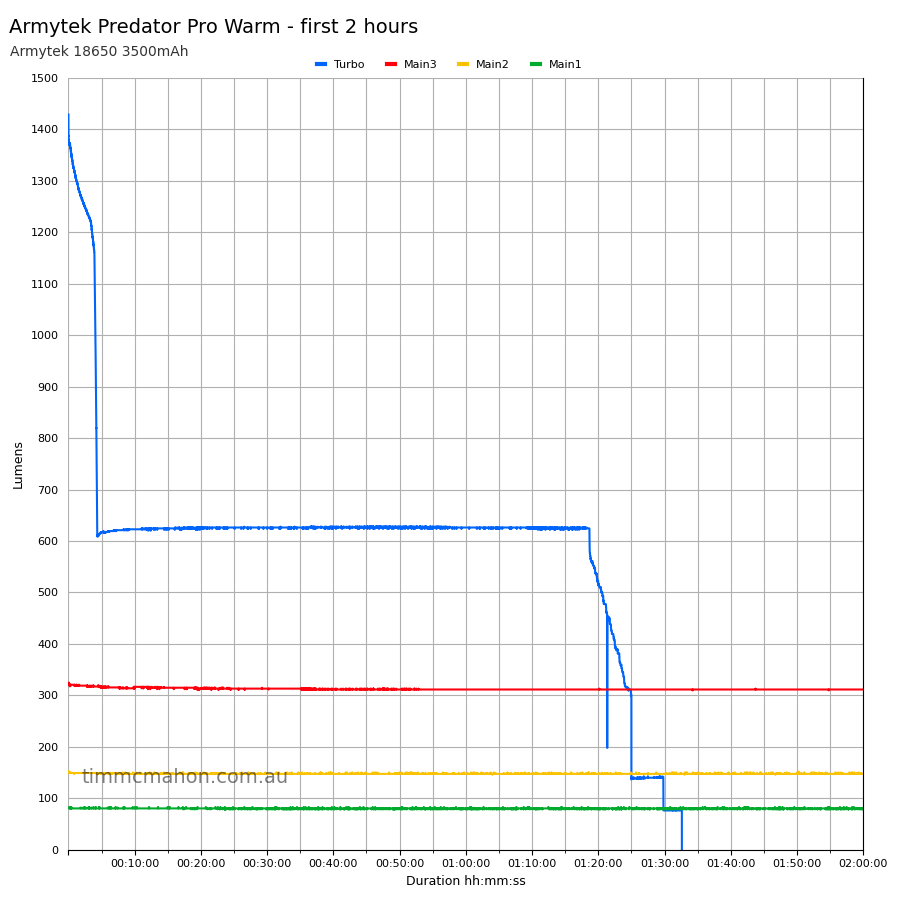
| Turbo | 1h 33min | 1h 29min 31s | 1h 32min 39s | 2.56 |
| Main3 | 5h 13min | 4h 9min 17s | 4h 9min 17s | 3.10 |
| Main2 | 12h 20min | 9h 25min 11s | 9h 25min 1s | 3.09 |
| Main1 | 32h | 17h 32min 20s | 17h 32min 20s | 2.55 |
“Runtime” is the time until the output reduces to 10% of the output at 30 seconds (as per the ANSI/PLATO FL1 2019 Standard).
“Turn off” is the time until my DIY lumen tube no longer detects more than one lumen.
“+” indicates that the light remained on after recording had stopped.
The lumen output was slightly higher than expected for Main3, Main2 and Main1 and the runtimes were shorter than expected for those modes. Perhaps the higher lumen output caused the shorter runtimes.
Turbo maintained over 600 lumens for 1 hour 17 minutes.
The output is well regulated.
Throw#
I took lux measurements with a UNI-T UT383BT at 30 seconds. Each mode was measured at five metres.
| Mode | Specs (cd) | Specs (m) | Candela measured (cd) | Distance (m) |
|---|---|---|---|---|
| Main1 | 1,975 | 88 | ||
| Main2 | 4,125 | 128 | ||
| Main3 | 8,950 | 189 | ||
| Turbo | 494 | 40,850 | 404 |
The beam distance was slightly shorter than expected but it is usable at 100 metres when hunting.
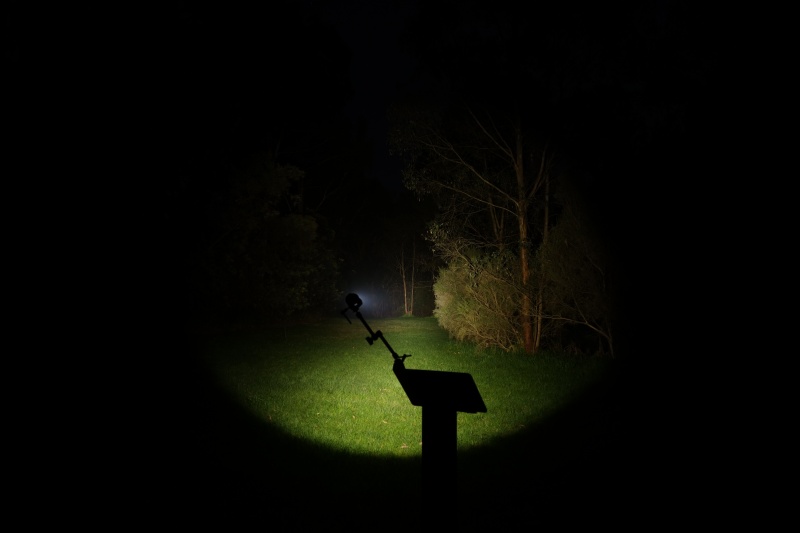
Beamshots#
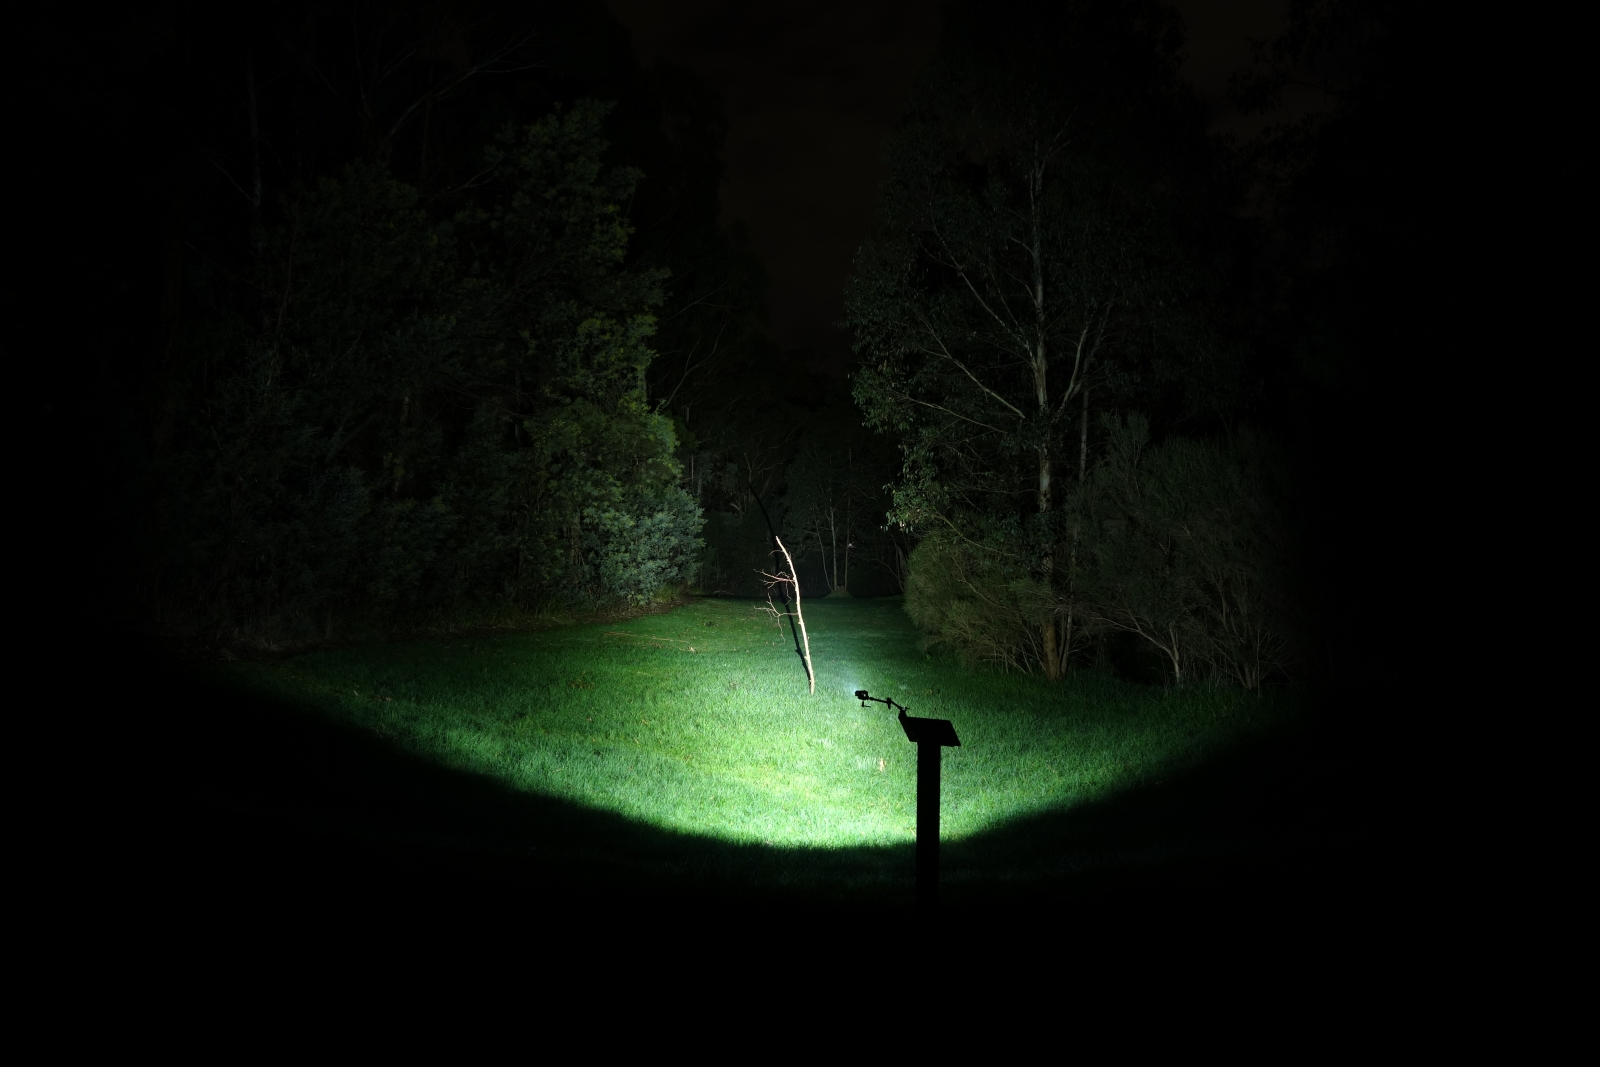
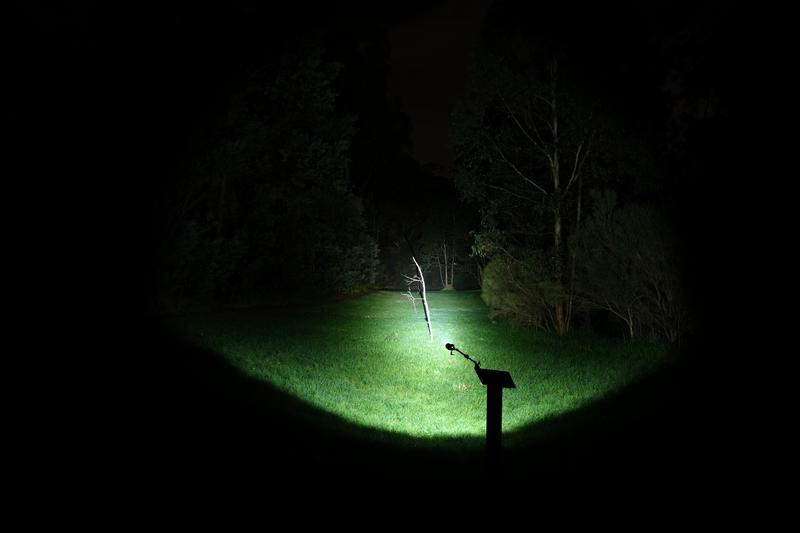
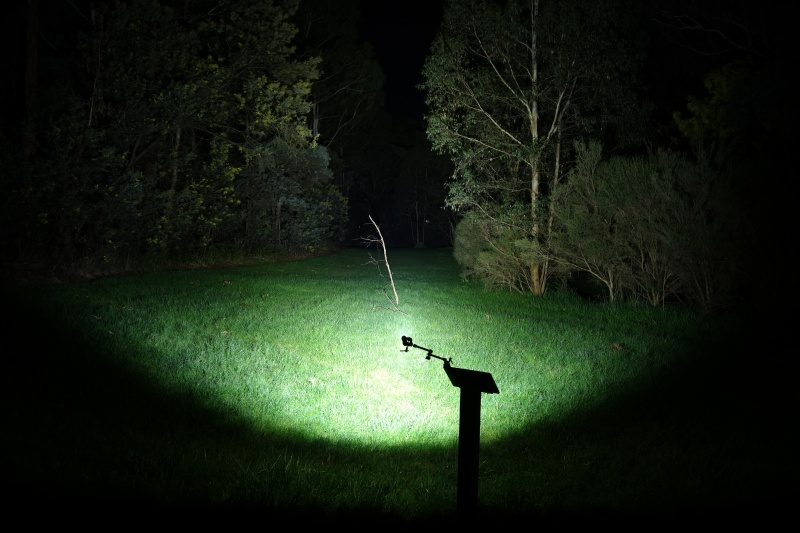
I went to a local park and I aimed the torch at a tree 70 metres away while using Turbo.
Beamshots were taken using a Sony RX100M2 using 3.2", f3.2, ISO 100, 5000K WB.
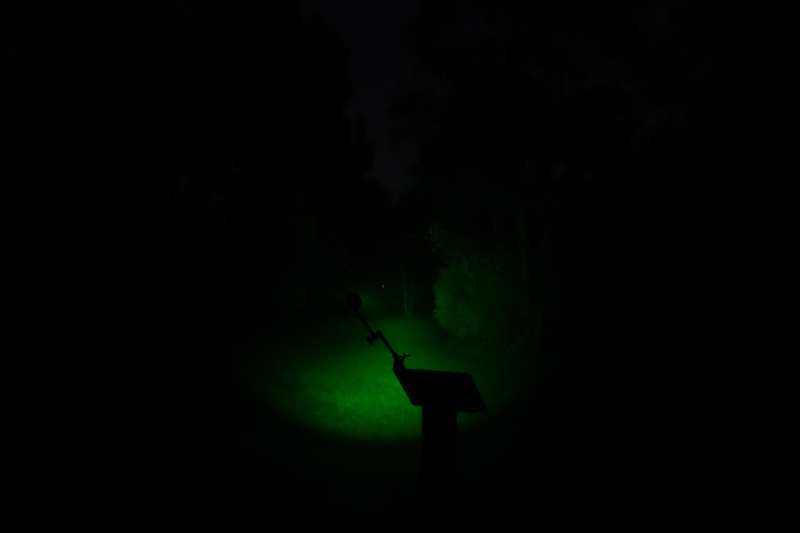
Beamshots were taken using a Sony RX100M2 using 1", f3.2, ISO 800, 5000K WB for green.
Armytek Predator Pro Warm (Turbo)#
Armytek Predator Pro Warm (Turbo) Green Filter#
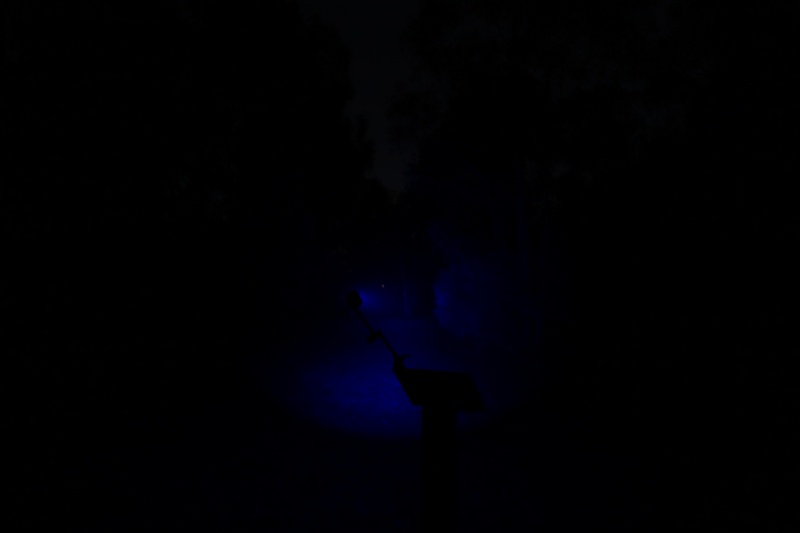
Armytek Predator Pro Warm (Turbo) Blue Filter#
Klarus GL4 (Turbo)#
Sofirn C8L (Turbo)#
Cyansky P25 V2.0 (Turbo)#
Conclusion#
The Armytek Predator Pro Warm is a good compact hunting torch.
It is relatively easy to use and the head is small compared to some big zoomie hunting torches.
I like the warm colour and the shape of the beam.
The lumen output was higher than expected for Main3, Main2 and Main1. This may have caused the runtimes to be shorter.
It maintained 600 lumens for 1 hour 17 minutes on Turbo.
If you can get by with the Main3 mode providing 280 lumens and a beam distance of 189 metres for 4 hours then this torch might be suitable for you.
Pros:#
- Excellent build quality.
- Good lumen output.
- Good beam distance.
- Warm beam (4000K).
- High CRI.
- Magnetic charger included.
- Heaps of accessories available.
- Optional remote switch behaves like the tail switch.
Cons:#
- Runtimes are lower than expected.
- Beam distance is lower than expected.
- Low voltage protection could be improved.
Price#
The Armytek Predator Pro Warm is US$105 from armytek.com
Product page#
Armytek Predator Pro Warm at armytek.com
Ground Force International is the exclusive distributor of Armytek torches in Australia. You can find a list of retailers on their website.